HOW TO Install
Redhat 6.2 onto a Virtual machine ESX
2. Select
“Typical” and click [Next>]

3. Give
it Name, for example: “Redhat 6.2”,
and click [Next>]

4. Select
the [Datastore], where you want your
VM to be installed, and click [Next>]

Note: You can see
I have a single [Datastore]
5. Chose
which template you need, click on [Next>]

Note: by default Vmware has
pre-selected “Red Hat Enterprise Linux 6 (64-bit” This
is what we are installing.
6. Size
the disk for your VM, I am going to give my VM 40GB disk and click [Next>]

7. Tick
the box “Edit the virtual machine settings before
completion” and click [Continue]

8. Click
on [Options], then on “Boot Options”, add 15 seconds to “Power
On Boot Delay”, tick the box “Force BIOS Setup” and
click [Finish]

9. Click
on the name of your Virtual machine “Redhat 6.2”, then click on [Console]

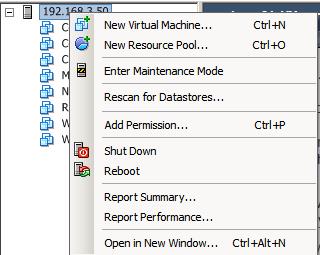
10. Click
on the play icon where it says “Power On”. This will start up your VM.

Note: Once your
machine has been powered on, it will display the BIOS screen.
You need to select the “Boot”
option and make the CDROM the first boot option.


12. Select
the Redhat 6.2 ISO image and click [Open]

13. Go
back to the BIOS scree, press <F10>

14. You
will see the screen below, just hit [ENTER]

15. Your
Virtual Machine will boot off the Red
Hat 6.2 ISO, hit [ENTER]

16. The
screen below shows Linux starting up the install and detecting your hardware.

17. Select
[Skip] and hit [ENTER]


19. Select
your language and click [Next]

20. Select
your keyboard layout and click [Next]

21. Select
“Basic Storage Devices” and click [Next]

22 Click
on [Yes, discard any data]

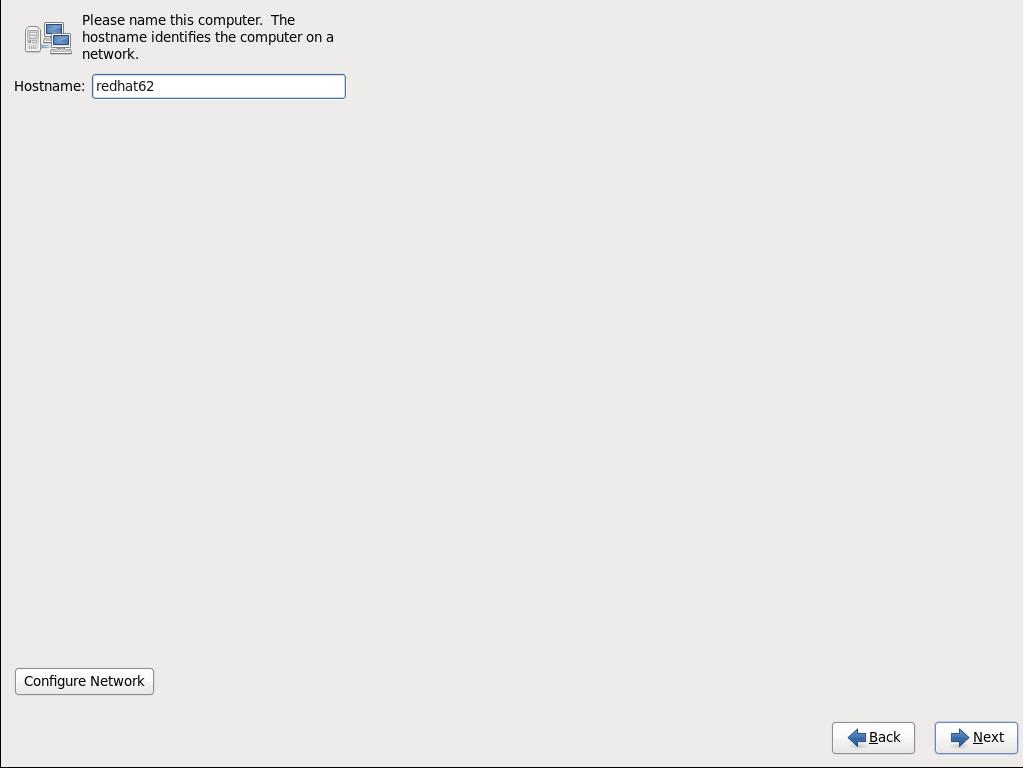
23. Type
in your server name i.e “redhat62” and click [Next]
24. Select
you Country/Region and click [Next]


29. Select
“Basic Server” and click [Next]

30. Red
Hat will work out the packages to install and its dependencies

31. Once
packages and dependencies have been worked out Red Hat will begin copying
packages to disk.

32. Once
all packages have been copied to the VM disk, you will see the screen below

33. Remove
the ISO mounted as CDROM

35. Click
on [OK]

36. Now
you can click on [Reboot]

37. Re
Hat will start the reboot process, see below

38. Once
system starts to boot, you will see a screen similar to the one below

39.
Once Re Hat is fully up and running, you will be
presented with a login screen.
Type
in
User
Name: root Password: the one you set previously for the root user.

That is it
guys, at this point your Red Hat is fully installed, up and running.
In the next
few posts I will show you how to setup the network, how to update your system
etc.
Hope you
enjoy this post
Many thanks
for reading it
By Renato
Oliveira
Hi Folks. I hope you enjoy and learn how to install Linux Red Hat. Tomorrow I am going to write a how to setup:
ReplyDelete* Windows 2008 R2 Server Name
* Setup the 2008 R2 IP address
* Add the License Key
* Join it to a domain